EDMONDS, WA :: With most of the house renovations complete, we finally invited our friends over for a dinner party. We looked forward to using our new table, chairs and place settings, but the dining room still had a
very ugly ceiling light which we had not yet replaced. We simply hadn't found anything that we liked and would match the long, modern-looking table. I began thinking, "Well, how hard would it be to make a chandelier?" I had five evenings before the dinner to find out.
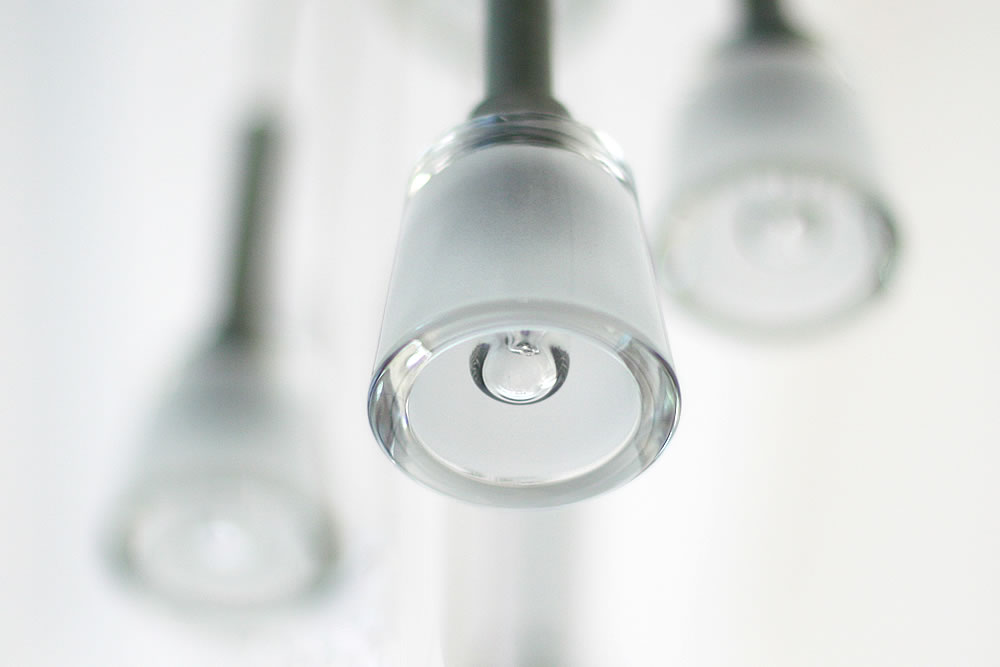
I really like the look of mini-pendant lights. The more, the better! My vision was to arrange about 20 of them in a long line, scattered about in an organic pattern. I needed to construct a mount and figure out a way to convert the line voltage to 12 volts to power the 10 watt lamps. I'm not much of an electrician, and I was trying to keep the project around $300, so I figured it was best to cannabilize several existing low-voltage, mini-pendant lamps. IKEA hooked me up with three
KRYSSBO lamps that came with some nice looking, glass pendants, bulbs, and the necessary transformers. I grabbed a spool of speaker wire, some wood, and I was set.
Constructing the mount and wiring the lights was pretty easy. I cut matching lengths of aluminum tubing to conceal the wiring between the IKEA pendants and my speaker wire. The hardest part of the entire project was crawling up into the attic to hang bridging between the joists to provide a sturdy support for the chandelier. It probably weighed about 60 pounds. Four carriage bolts dropped through my 2x4s and the chandelier mount seemed to do the trick.
The dinner party was a lot of fun and we're very happy with the way the chandelier turned out. I only wish I had found some wiring that was all silver colored, instead of the copper-aluminum pair that I ended up using. The copper color is a little distracting, but it's not too bad. Since the chandelier is removable, I may replace the wiring, but there are many other projects still awaiting!
UPDATE: Check out the
Instructable for this project.
This entry has been viewed times.